My BMW X3 (F25) is closing in on 490,000 km. This is how a cheap TPMS caught a slow leak early enough for a DIY puncture repair at home.
The car covers over 200 km a day on my commute, so even small problems need catching early.
Back in December 2024, a set of winter tyres I had only just fitted picked up a puncture. That tyre could not be repaired.
This time, the aftermarket TPMS spotted the leak before anything got worse, so I could fix it myself with a plug kit.
TPMS showed the front left was low
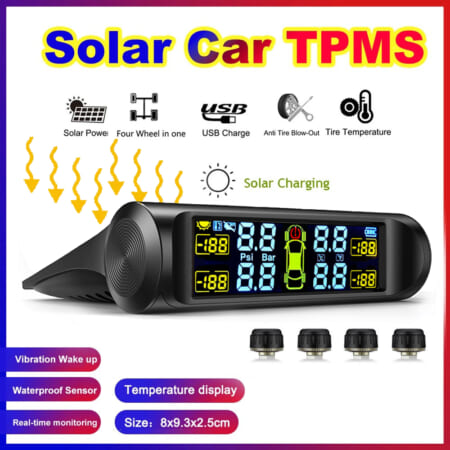
The aftermarket TPMS I bought on AliExpress about a year ago for around ¥2,000 (about $13) is still doing its job. I wrote up fitting the AliExpress TPMS to my F25 when it was new.
I did replace the sensor batteries earlier this year, but signal and accuracy have both been fine.
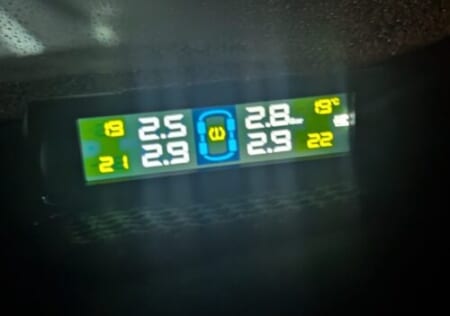
On the way home from work I glanced at the TPMS screen and noticed the front left tyre was reading 2.5 bar, lower than the other three.
The other three were at 2.8 to 2.9 bar.
A gap of just 0.3 to 0.4 bar, with 2.5 bar still in the tyre. Without the TPMS I would never have noticed.
Thanks to the TPMS, I had a sense that something was wrong before any alarm went off.
I keep the display where I can always see it from the driver’s seat.
Checking the tyre: nothing obvious
Could this be a puncture? I went to look at the tyre.
That evening I searched for nails and screws, but it was dark and hard to see. From the outside, nothing looked wrong (or so I thought).
At that point I could not rule out a fault in the TPMS itself. To be honest, that is what I suspected.
A closer look the next day
The next day happened to be my day off, so I inspected the tyre properly in the morning.
I rolled the car forward a little at a time to check the whole tread. One spot looked suspicious.
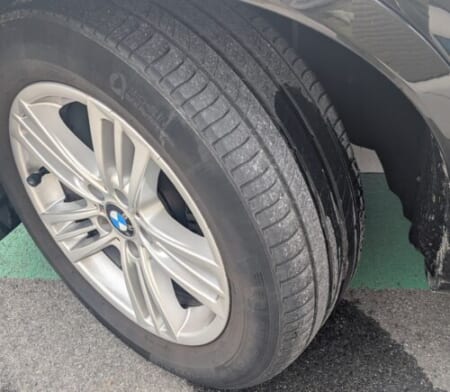
I wet the tyre with water. The problem is somewhere in this photo. Can you spot it?
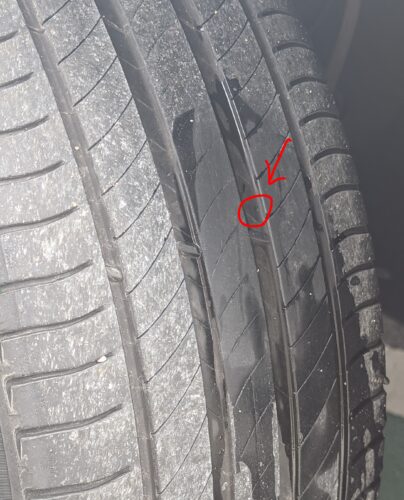
Here it is, in the red circle.
There was a tiny dot on the tread surface.
It looked exactly like the photo to the naked eye, too. A normal visual check would never have found it.
Finding the leak with soapy water
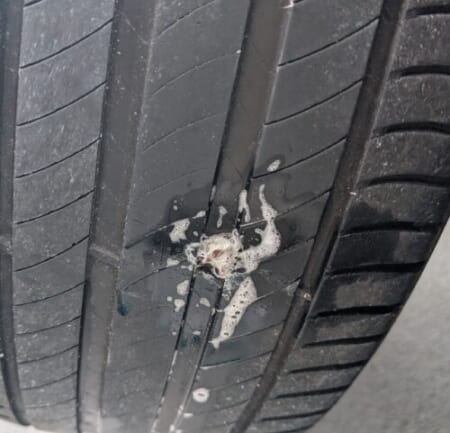
To confirm the leak, I brushed on water mixed with washing-up liquid and worked it into a lather.
Fine bubbles were coming from the dot in the photo above. That settled it.
Something small and metal seemed to be stuck in it.
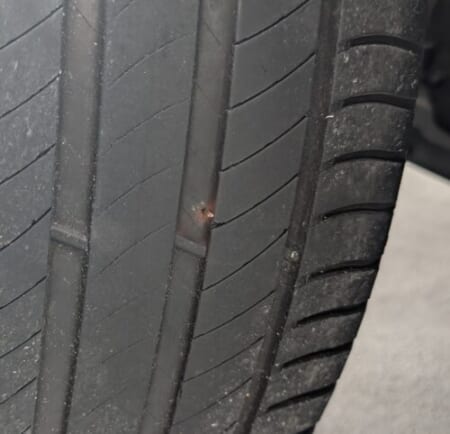
The culprit, after some work with pliers plus an awl.
It was a scrap of iron about 5 mm long. That something so small could cause a puncture really brought home how much more easily worn tyres get punctured.
DIY puncture repair with a plug kit
As luck would have it, just two weeks earlier I had bought a tyre repair kit from Ohashi Sangyo, a Japanese car accessory maker, in an Amazon sale.
Having a kit on hand was pure coincidence. I never imagined it would come in useful so soon.
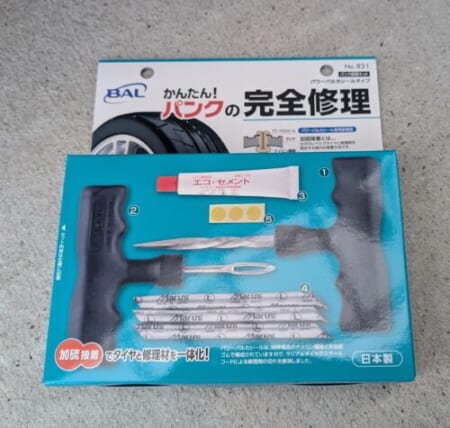
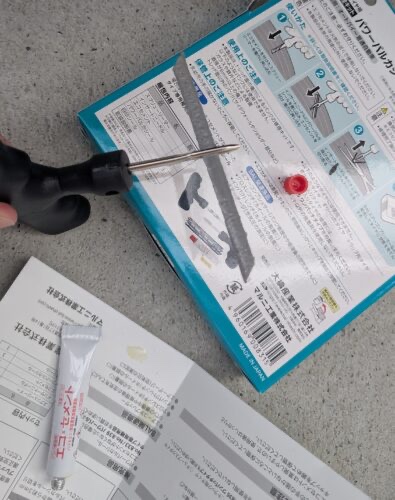
The kit, made in Japan. The packaging promises an easy, permanent puncture fix with vulcanising cement.
The repair is the usual plug type.
Reaming the hole
With the debris out, the first step is to clean up the hole with the reamer.
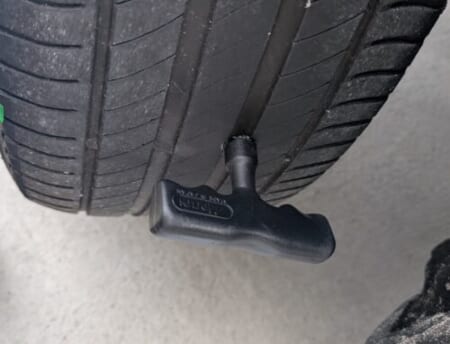
It was very hard to get the reamer into the tyre. I braced with my feet and twisted it in with everything I had.
Inserting the rubber plug
While the reamer stays in the hole, you prepare the rubber plug by coating it with cement.
This goes into the prepared hole. It was very stiff again, so I pushed it in with all my strength. (The kit instructions are in Japanese.)
I managed to get the rubber plug in, all the way down.
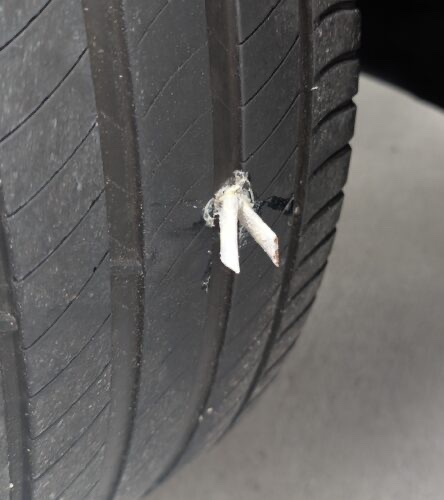
Then I trimmed off the excess sticking out and checked for leaks.
Pumping it back up
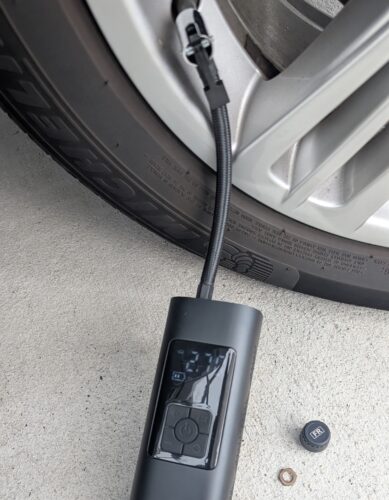
After the repair, I put air back in with my portable inflator to check it.
Repaired, and the test drive was fine
The whole job took about 20 minutes: 10 minutes to find the debris, plus 10 minutes to repair it.
I have driven over 1,000 km since, and the TPMS pressure readings have stayed steady. I am calling the repair a success.
These summer tyres, by the way, had done a full 140,000 km.
About 3 mm of tread was left. I suspect the wear is why such a small piece of debris was enough to cause a puncture.
The aftermarket TPMS paid for itself
This made me appreciate the aftermarket TPMS all over again.
It is not just a gadget. It is a sensor that lets you catch the early signs of a puncture yourself. Simply seeing a small pressure drop on screen was enough to find the problem early.
I would really recommend one to anyone who drives long distances, or anyone keeping an older car going.
I found the problem before it could leave me stranded on the expressway I drive every day, and the DIY puncture repair cost very little. I am glad it worked out.
The winter tyres go on soon, and the car is about to reach the 500,000 km milestone.
This article is also available in Japanese.