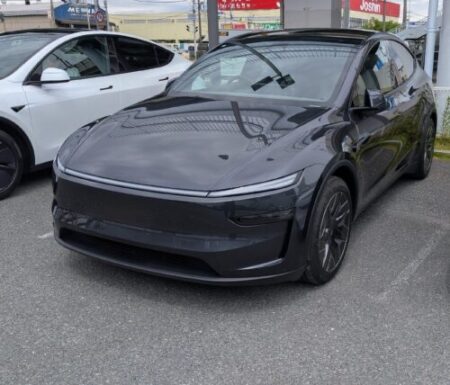
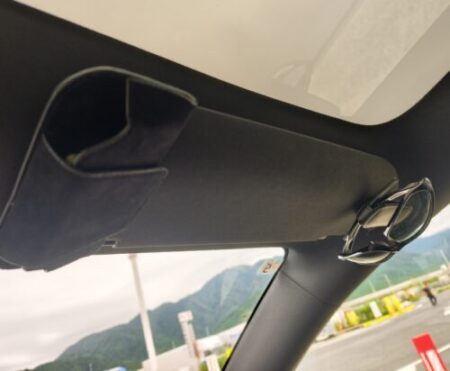
My Model YL has no instrument cluster behind the steering wheel. Speed, battery level, all of it lives on the centre screen.
Back in August I placed a bundle of AliExpress orders, and one of them was a 10.88-inch Model YL dashboard display that sits behind the wheel. So I finally fitted it, and this post covers the install.
Halfway through, the car threw a wall of ABS warnings and I genuinely panicked, so that part is in here too.
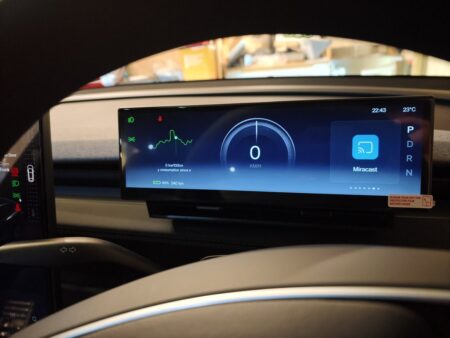
The Model YL dashboard display I bought on AliExpress
I ordered it on 17 August 2026. It is a 10.88-inch unit from CARBAR Autoparts Store. A coupon happened to knock the price down a lot, and I paid ¥36,626 (approx. $245 USD).
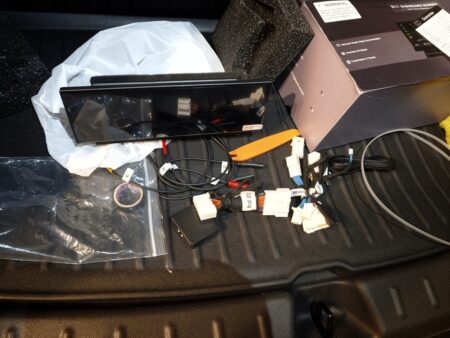
That exact listing no longer seems to be available, but this one is similar.
There are probably a few other similar products out there too.
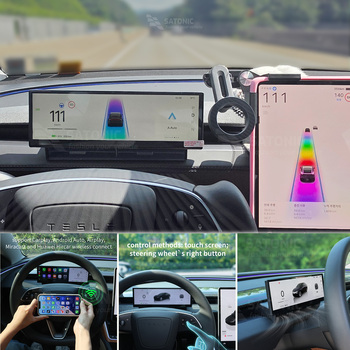
Before buying, I compared five of these displays. That comparison has its own post: Model YL dashboard displays on AliExpress, five compared.
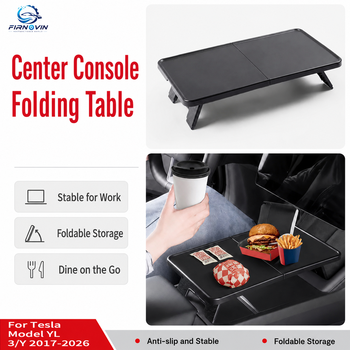
I also ordered a centre console table on the same day.
How I installed the dashboard display
The only tool was a set of trim removers
The box came with a single installation sheet in English, written for the Model 3 Highland and the Model Y Juniper.
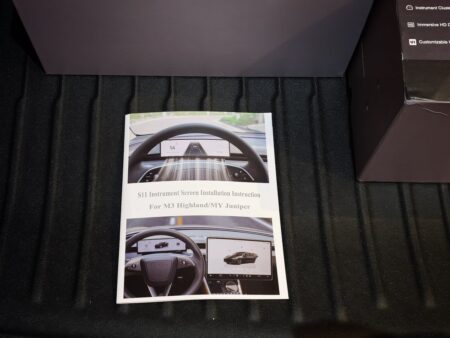
Here it is as a PDF: Installation manual (PDF, English, approx. 2 MB)
To get the trim off, I used a set of plastic trim removal tools.
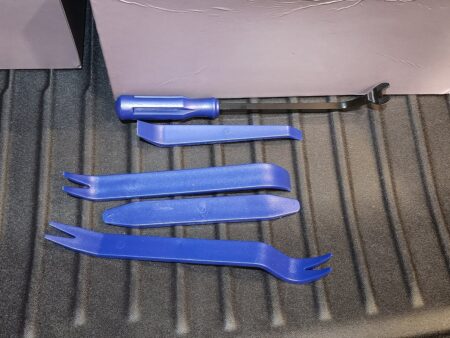
These came from AliExpress as well.

On a right-hand-drive car, only the driver’s side comes apart
On the driver’s side, you pop off the panel on the end of the dash with a trim tool.
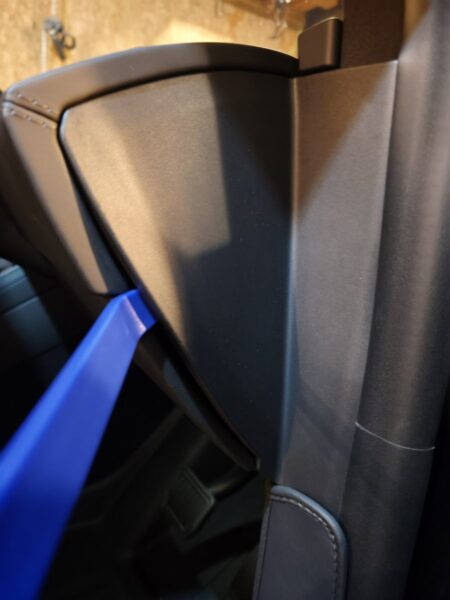
I started with the passenger-side panel, simply because it looked easier, and opened it up until I could see the wiring.
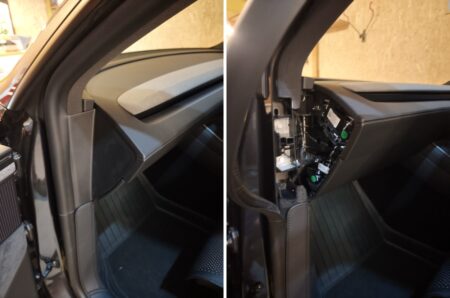
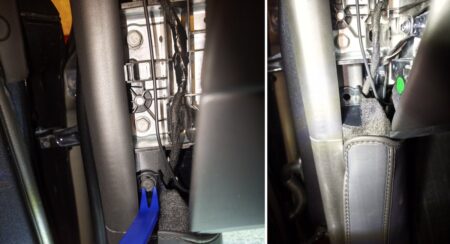
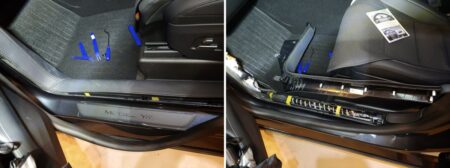
The manual has you remove the passenger-side trim, then draw power from the A-pillar.
There is also a cable in the passenger footwell you could tap into.
This time, though, I didn’t splice into that one.
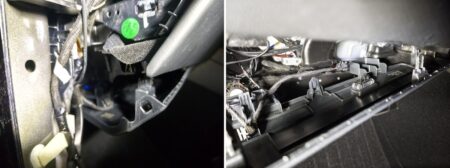
I opened things up until I could see inside the dash, and following the manual I even unplugged the footwell light wiring. In the end, nothing on that side needed opening.
On a Japanese right-hand-drive car, you only need to take apart the driver’s side. A left-hand-drive car is laid out the other way round, and I haven’t seen one opened up, so follow the manual if that is yours.
The top dash cover is really stiff
Next comes the cover on top of the dash, behind the wheel on the windscreen side.
This one was very tight to get off.
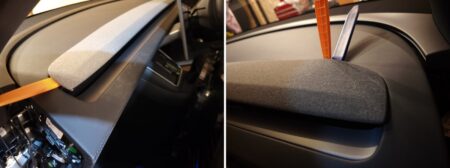
Starting at one end, I pushed the trim tool in from above and slid it sideways, popping the clips as I went.
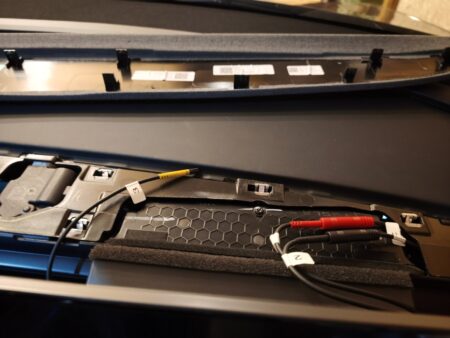
With the flat tool wedged in the gap and the cover lifted as in the right-hand photo, I got my fingers under it and pulled it open.
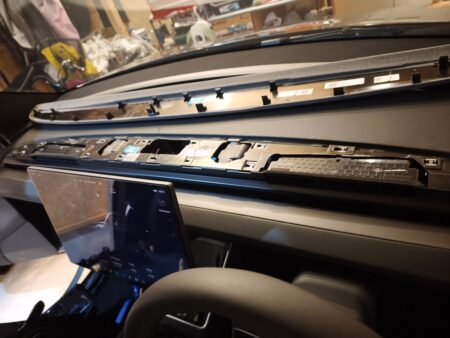
Power from a spare connector in the driver’s footwell
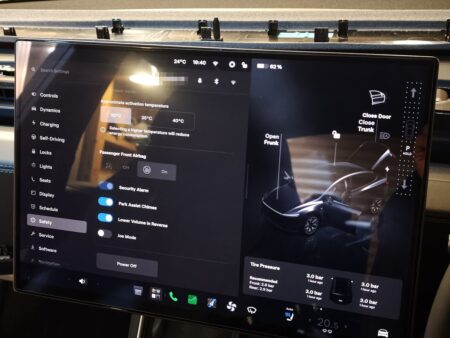
Before touching any wiring, I powered the car off from the Safety settings on the screen.
On the right side of the driver’s footwell was an empty connector with nothing plugged in. I spliced the supplied harness into it.
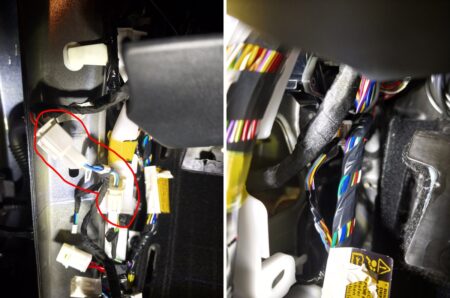
The red circle in the left-hand photo is where the tap-in harness connects.
I pushed the wiring well back so it wouldn’t get pinched.
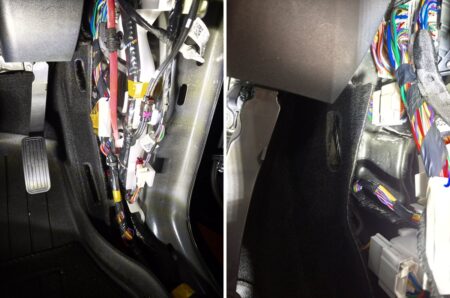
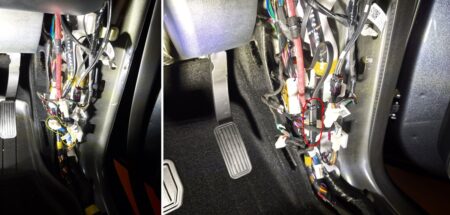
The yellow circle in the left-hand photo is a tap-in connector left over from the kit. The display works fine with it unconnected.
The red circle in the right-hand photo is the USB-C cable running up to the display.
I connected it temporarily, and it lit up.
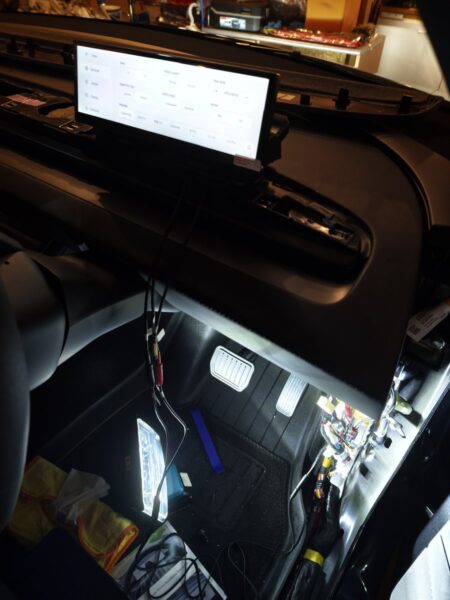
Past the USB-C, the cable splits again into a red wire and a black wire. The yellow wire is for a front camera. The parts list in the manual marks the camera as optional. I didn’t use one, so that wire stays unconnected.
Unplugging the connector set off a flood of ABS warnings
This is where it went wrong.
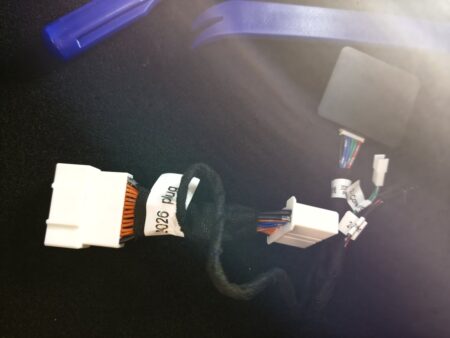
Plugging in the connector, then pulling it out again, seems to have triggered it. Before I knew it, the screen was full of alerts.
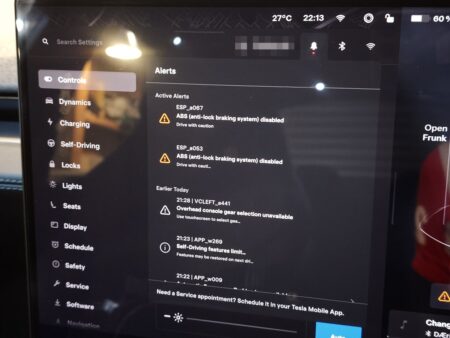
ABS disabled. Traction control disabled. Stability control disabled. Automatic Emergency Braking unavailable. Nothing but scary warnings.
The alert codes on screen were ESP_a067, ESP_a053, DI_a223, DI_a222, plus APP_w009.
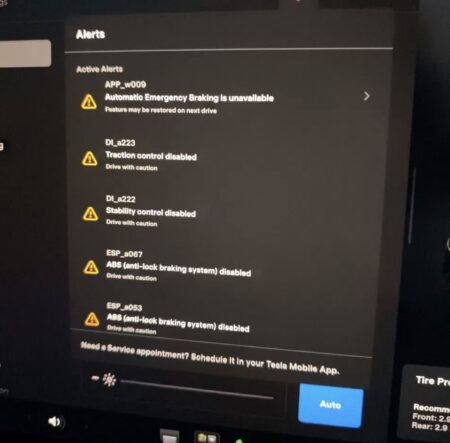
I seriously panicked. The photo is blurry because I snapped it in a hurry.
I had powered the car off from the screen, but I don’t think it had fully shut down. Pulling the connector while it was still awake probably left the brake system sensors without a signal.
The warnings cleared once the car went to sleep
I decided to calm down first, so I went and had a bath.
The car seems to have gone to sleep while I was away. When I came back and woke it up, every warning was gone. What a relief…
The display ran a system update after start-up
Pulling myself together, I powered it up and connected it to Wi-Fi, and a system update started.
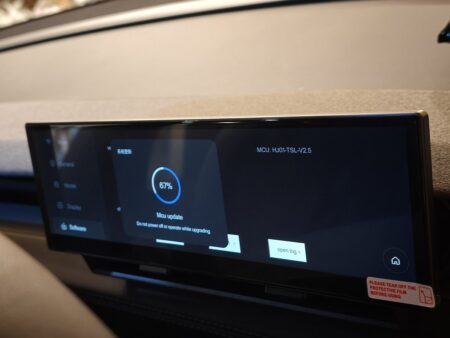
Once the update finished, it showed speed, battery level, range, door status and more.
That is as far as the install goes. If I find anything worth sharing after living with it for a while, I’ll write about what it’s like to use.
Summary
I fitted a 10.88-inch Model YL dashboard display from AliExpress.
- On a right-hand-drive car, only the driver’s side needs to come apart (the passenger side didn’t need opening)
- The top dash cover is very stiff (wedge a flat trim tool in, then pull it open by hand)
- Power came from the spare connector on the right side of the driver’s footwell
- Only unplug connectors once the car is fully asleep
The job took about three hours with a meal break. If you only do what is needed, I think it would take an hour.
Next time I touch that connector, I’ll power off from the screen, then wait until the car has fully shut down.
If you want to double-check the Power Off step first, Tesla’s online owner’s manual is the place to look.
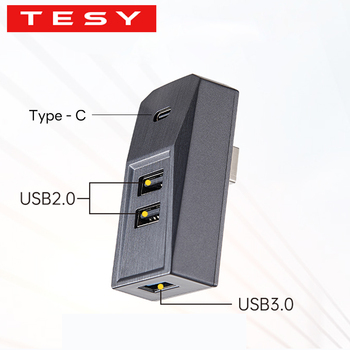
I’ve fitted a few other AliExpress interior parts before, like this glovebox USB hub.


This article is also available in Japanese.